PostsNEXT.JSのwebページにAWS Cognitoの認証をつける
概要
webページにcognitoの認証を付与します。
amplify cliから実行すると自動で色々なファイルができてしまうので、勉強用に最小限の構成で認証できるようにします。
Cognitoユーザープールとユーザープールクライアントの作成
以下のpythonスクリプトでcognitoをセットアップします。
import boto3


def create_user_pool(pool_name):
    cognito_idp = boto3.client("cognito-idp")

    # User Pool を作成
    response = cognito_idp.create_user_pool(
        PoolName=pool_name,
        Policies={
            "PasswordPolicy": {
                "MinimumLength": 14,
            }
        },
        AutoVerifiedAttributes=["email"],
        Schema=[
            {
                "Name": "email",
                "AttributeDataType": "String",
                "DeveloperOnlyAttribute": False,
                "Mutable": True,
                "Required": True,
            }
        ],
    )
    user_pool_id = response["UserPool"]["Id"]
    return user_pool_id


def create_user_pool_client(user_pool_id, client_name):
    cognito_idp = boto3.client("cognito-idp")

    # User Pool Client を作成
    response = cognito_idp.create_user_pool_client(
        UserPoolId=user_pool_id,
        ClientName=client_name,
        GenerateSecret=False,
    )
    client_id = response["UserPoolClient"]["ClientId"]
    return client_id


if __name__ == "__main__":
    pool_name = "MyUserPool"
    client_name = "MyUserPoolClient"

    # User Pool を作成
    user_pool_id = create_user_pool(pool_name)

    # User Pool Client を作成
    client_id = create_user_pool_client(user_pool_id, client_name)

    print(f"User Pool ID: {user_pool_id}")
    print(f"User Pool Client ID: {client_id}")
環境変数の設定
作成後、ユーザープールIDと、ユーザープールクライアントIDを環境変数に設定します。
NEXT_PUBLIC_COGNITO_USER_POOL_ID=ap-northeast-1_xxxxxxxxxxxx
NEXT_PUBLIC_COGNITO_USER_POOL_CLIENT_ID=xxxxxxxxxxxxxxxxxxxxxxxx
認証用コンポーネントの作成
amplifyライブラリと、ReactUIのライブラリをインストールします。
yarn add amplify@latest @aws-amplify/ui-react
グローバルにamplifyの設定を反映するために、_app.tsxを以下のように修正します。
pages/_app.tsx
//以下を追加
import { Amplify } from 'aws-amplify';
import awsExports from '../lib/aws-exports';
Amplify.configure(awsExports);
aws-exports.ts
const awsConfig = {
    Auth: {
      Cognito: {
        userPoolId: import.meta.env.VITE_COGNITO_USER_POOL_ID,
        userPoolClientId: import.meta.env.VITE_COGNITO_USER_POOL_CLIENT_ID,
      },
    },
};
export default awsConfig;
以下のようにAuthenticatorコンポーネントを組み込みます。
App.tsx
import { Authenticator } from '@aws-amplify/ui-react';
import '@aws-amplify/ui-react/styles.css';

const App = () => (
  <Authenticator loginMechanisms={['email']}>
    {({ signOut, user }) => (
      <div>
        <h1>Hello, </h1>
        <ul>
          <li>{user?.username}</li>
        </ul>
        <button onClick={signOut}>Sign out</button>
      </div>
    )}
  </Authenticator>
);

export default App;
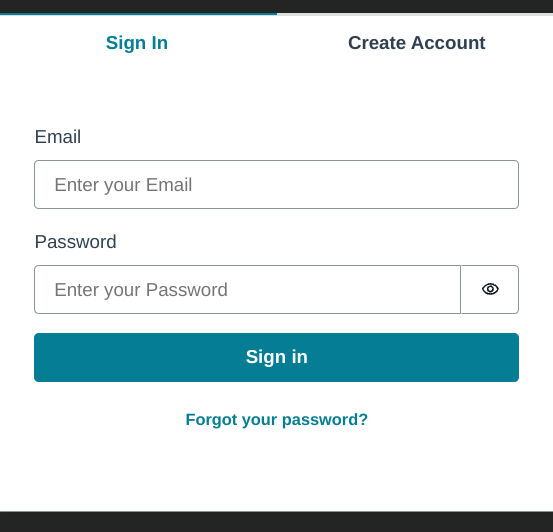
実行結果
yarn dev
webページ上に以下のように認証コンポーネントが表示されます。